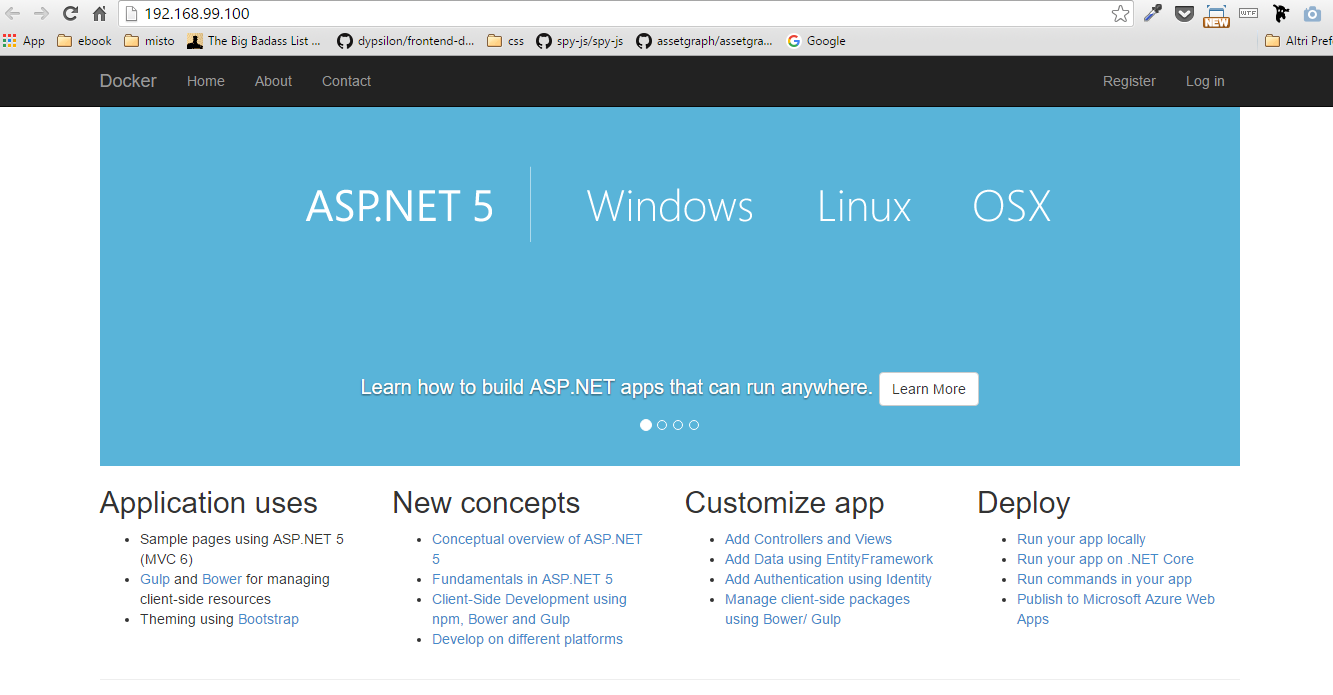
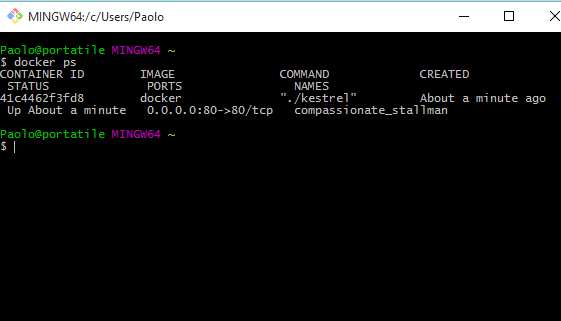
Local Windows Docker deployment with ASP.NET 5 and Docker Toolbox
If you are reading this article you probably already know what Docker is and as a .NET developer you’ve always wanted to be able to use it to deploy your applications.
With the beta 8 of ASP.NET 5 a new deploy option is available that lets you deploy your website to a virtual machine in Azure running Docker. This is actually pretty simple and well covered by the documentation but what if you don’t have an Azure Account, network access or simply prefer to try things on your local computer.
This situation is not covered by the docs so I’ll cover the necessary steps. Note that I’ve tried this instructions on Windows 10 but there should be no problem on WIndows 7, 8 or 8.1 .
Prerequisites
First of all make sure you’ve installed all of the followings:
- docker machine
- Visual Studio 2015 (at least community edition)
- Microsoft ASP.NET and Web Tools 2015 (Beta8)
- Visual Studio 2015 Tools for Docker - October Preview
and verify your docker installation is working.
Deploying to Docker
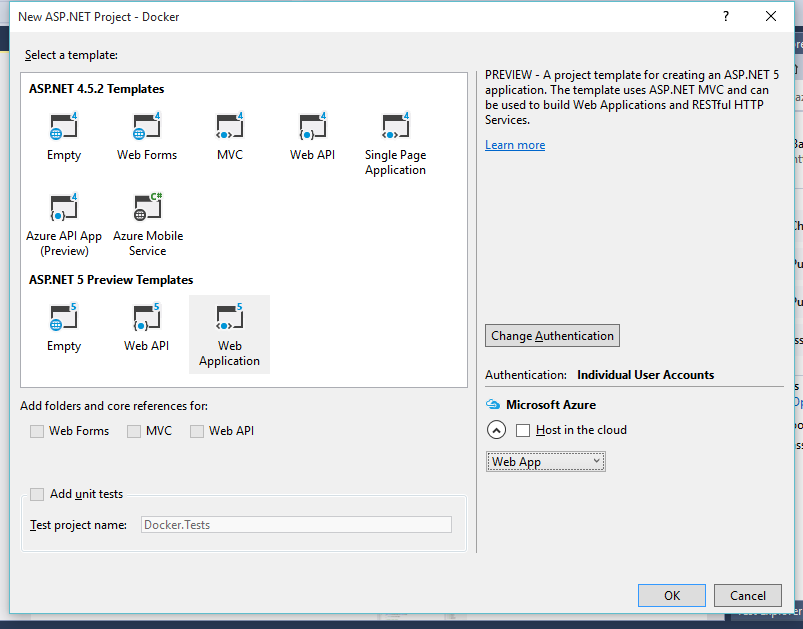
The first thing to do is to create a new ASP.NET Web Application with the ASP.NET Preview Templates. Choose Web application as in the image and uncheck the host in the cloud option.
Proceed with project creation and then build it by pressing Ctrl+Shift+B. To start the deploy simply right-click on the project and select the Publish option.

Choose the docker containers option and then the Custom Docker host.
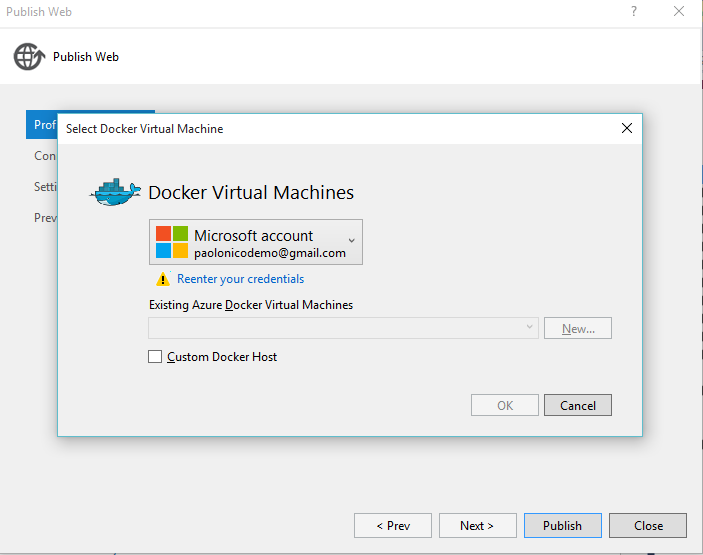
Now you will have to specify the connection info for your local Docker host

To obtain these info launch the Docker quickstart terminal installed with the Docker Tools.
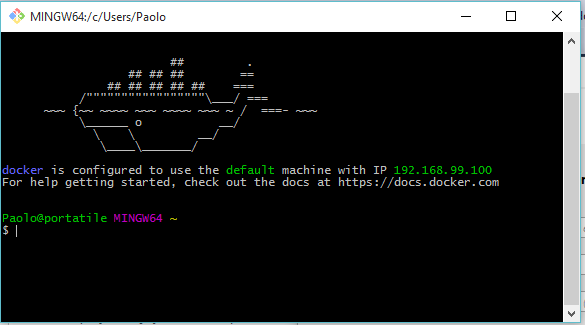
You will see, drawn in green, the name of your machine and it’s IP, in this case 192.168.99.100. Return to the connection info dialog and insert ** tcp://192.168.99.100:2376 **. Then execute in the terminal
docker-machine config default
substituting default with your machine name. You will see all the config options o connect to your docker host. Copy all of it except the last parameter ( -H tcp://192.168.99.100:2376) as it is not necessary and paste it in the **Docker Advanced Options > Auth Options ** field.
Now you’re done. Press Publish and wait until the build terminates, the browser will automatically open your website running in Docker.
